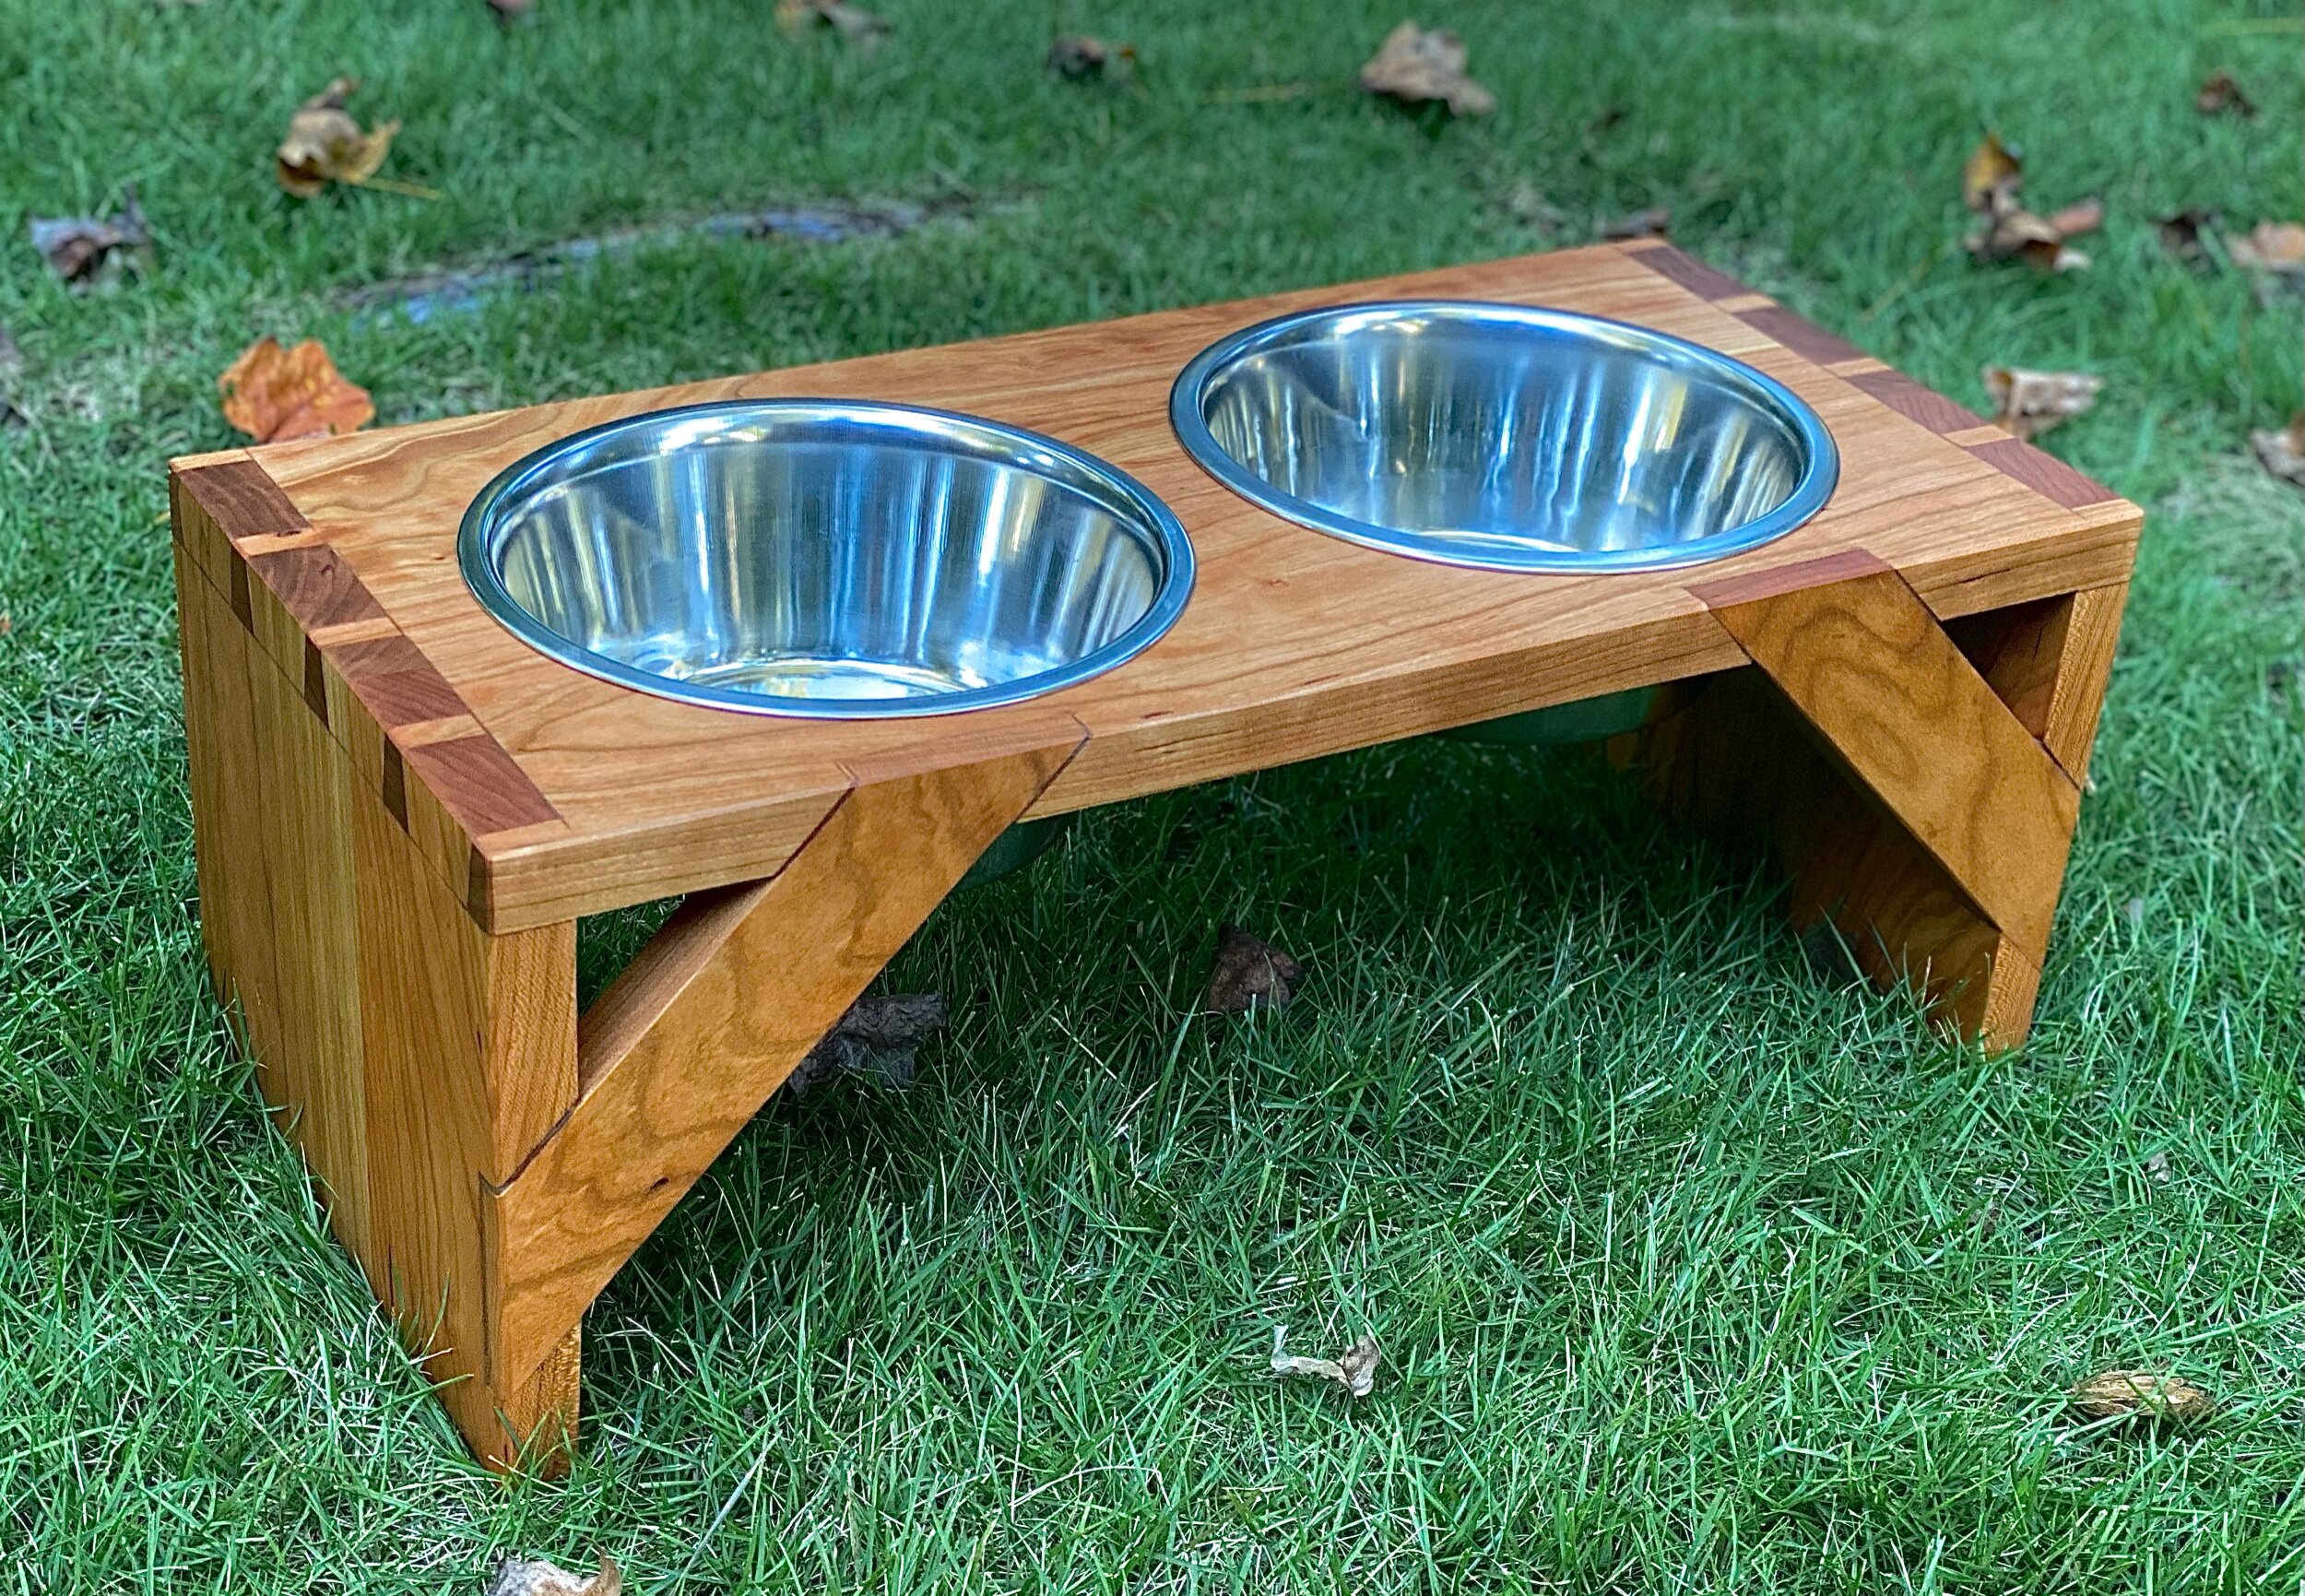
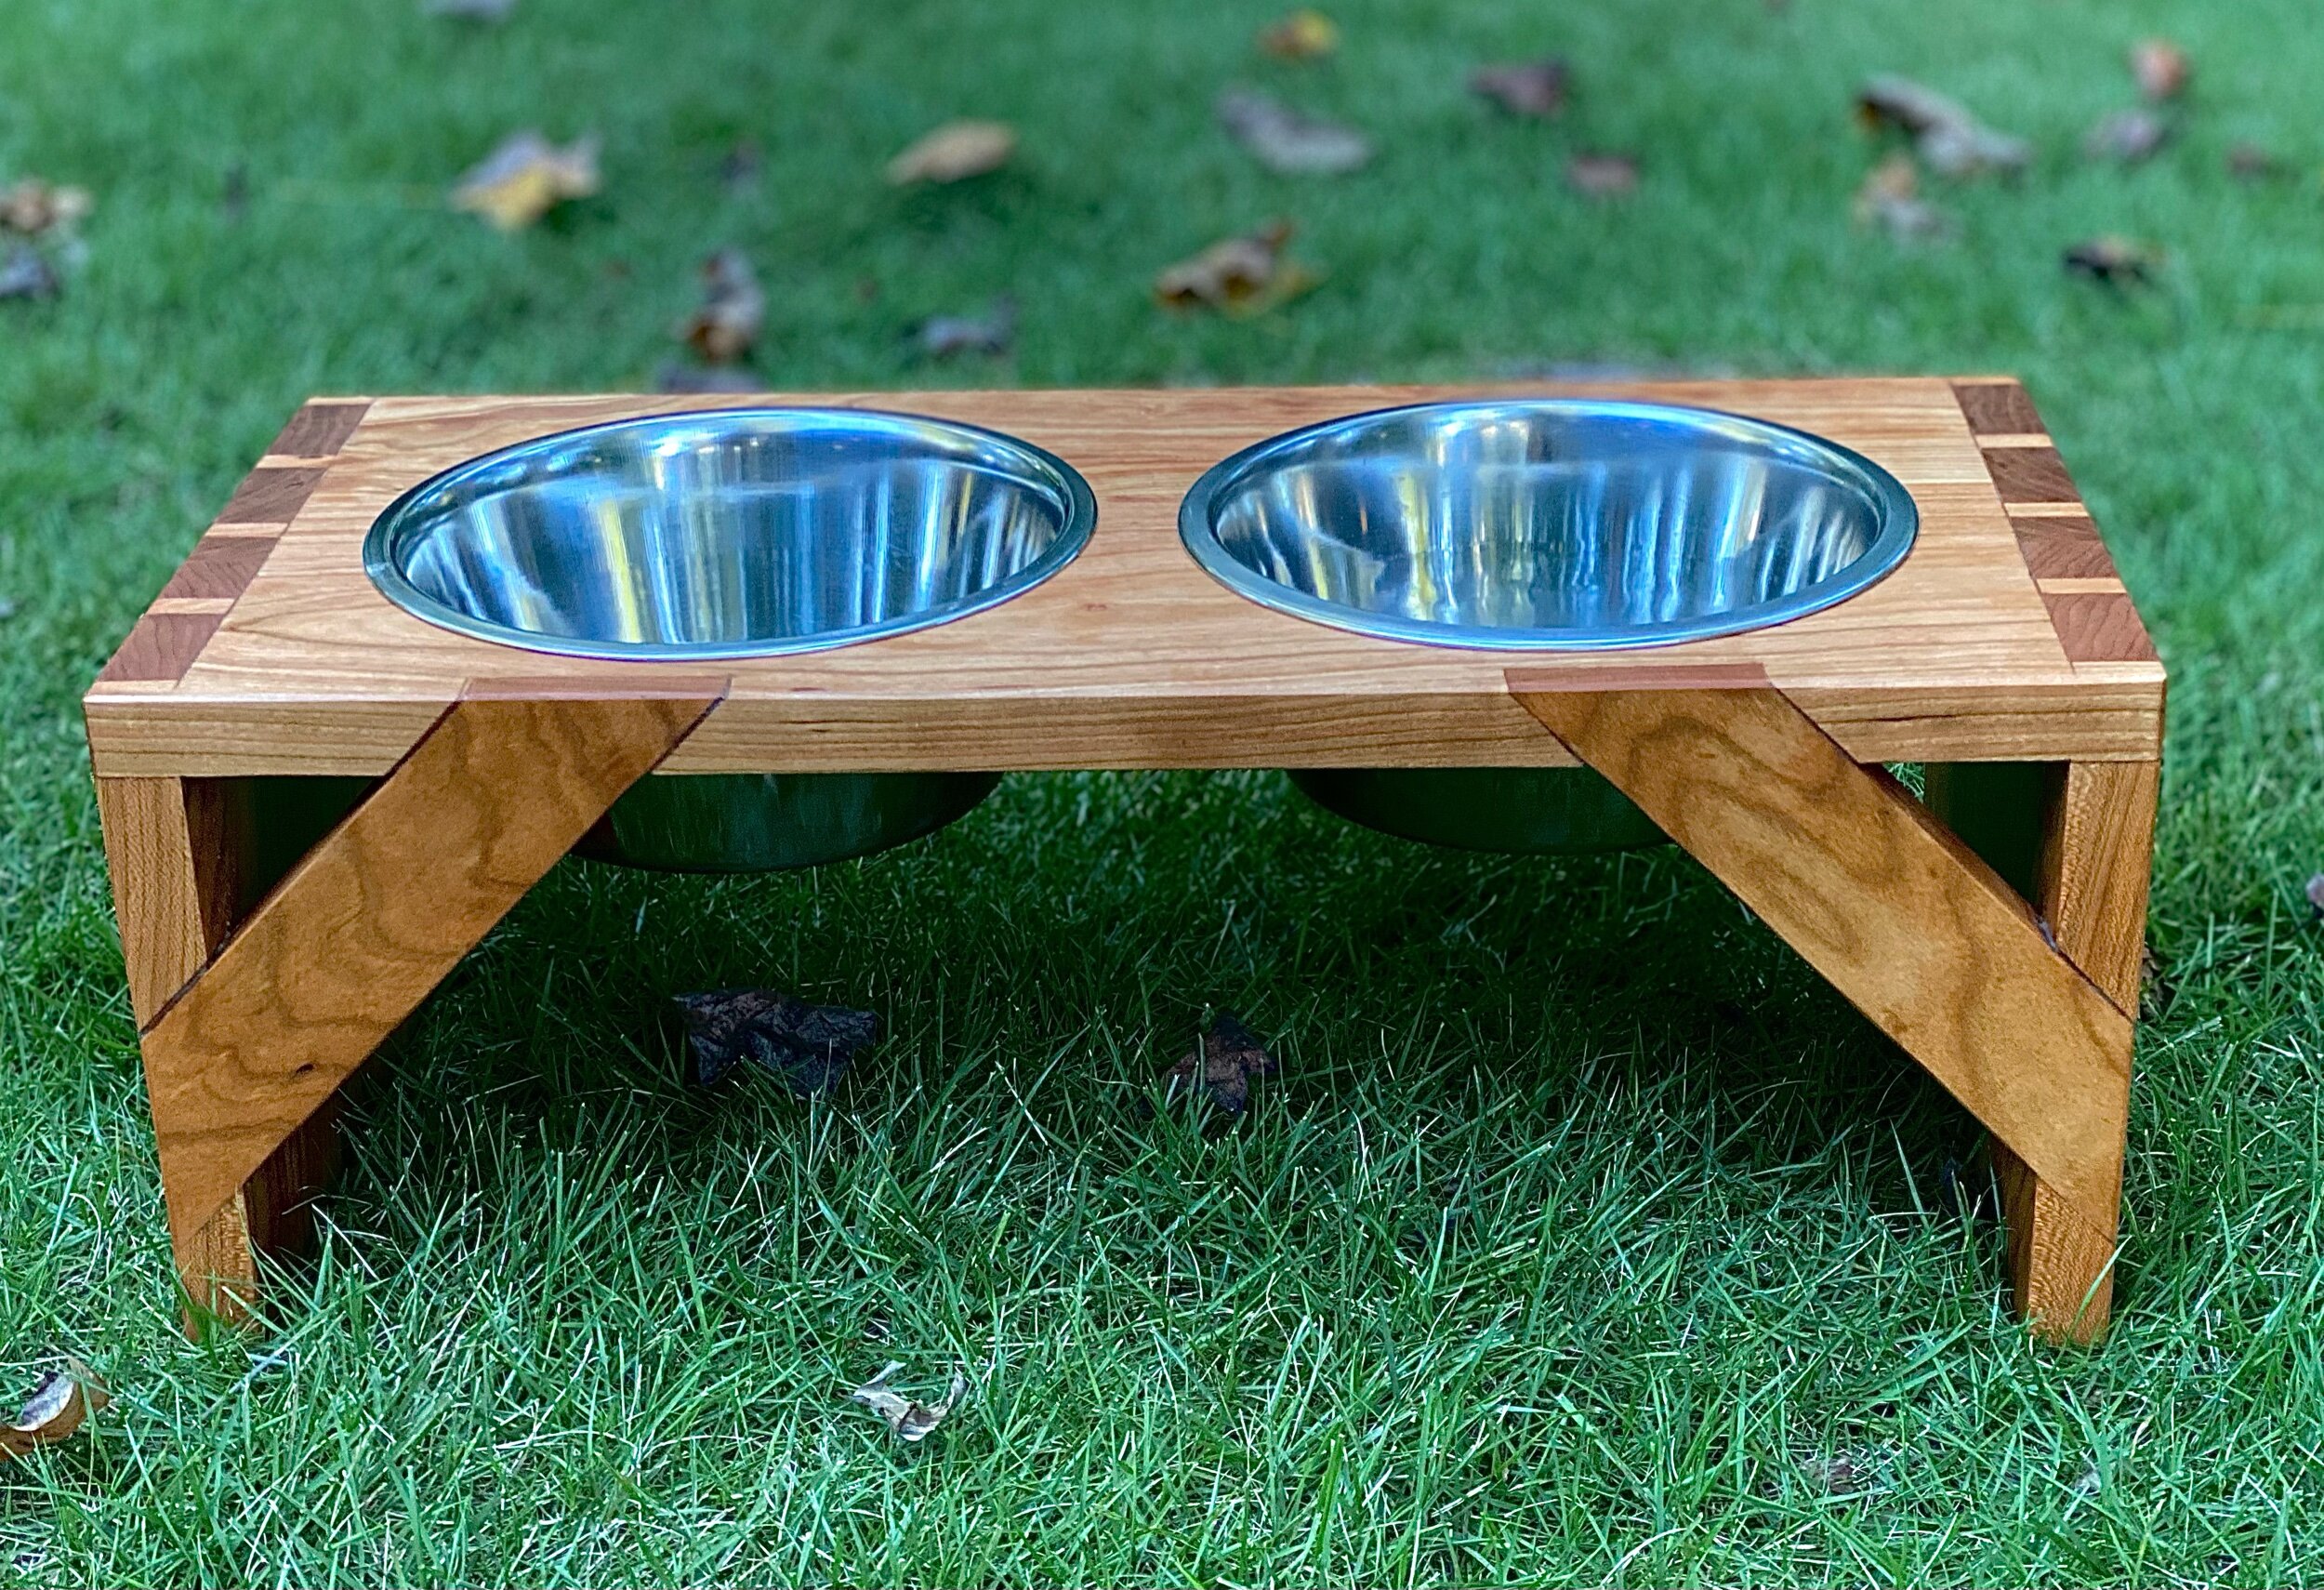
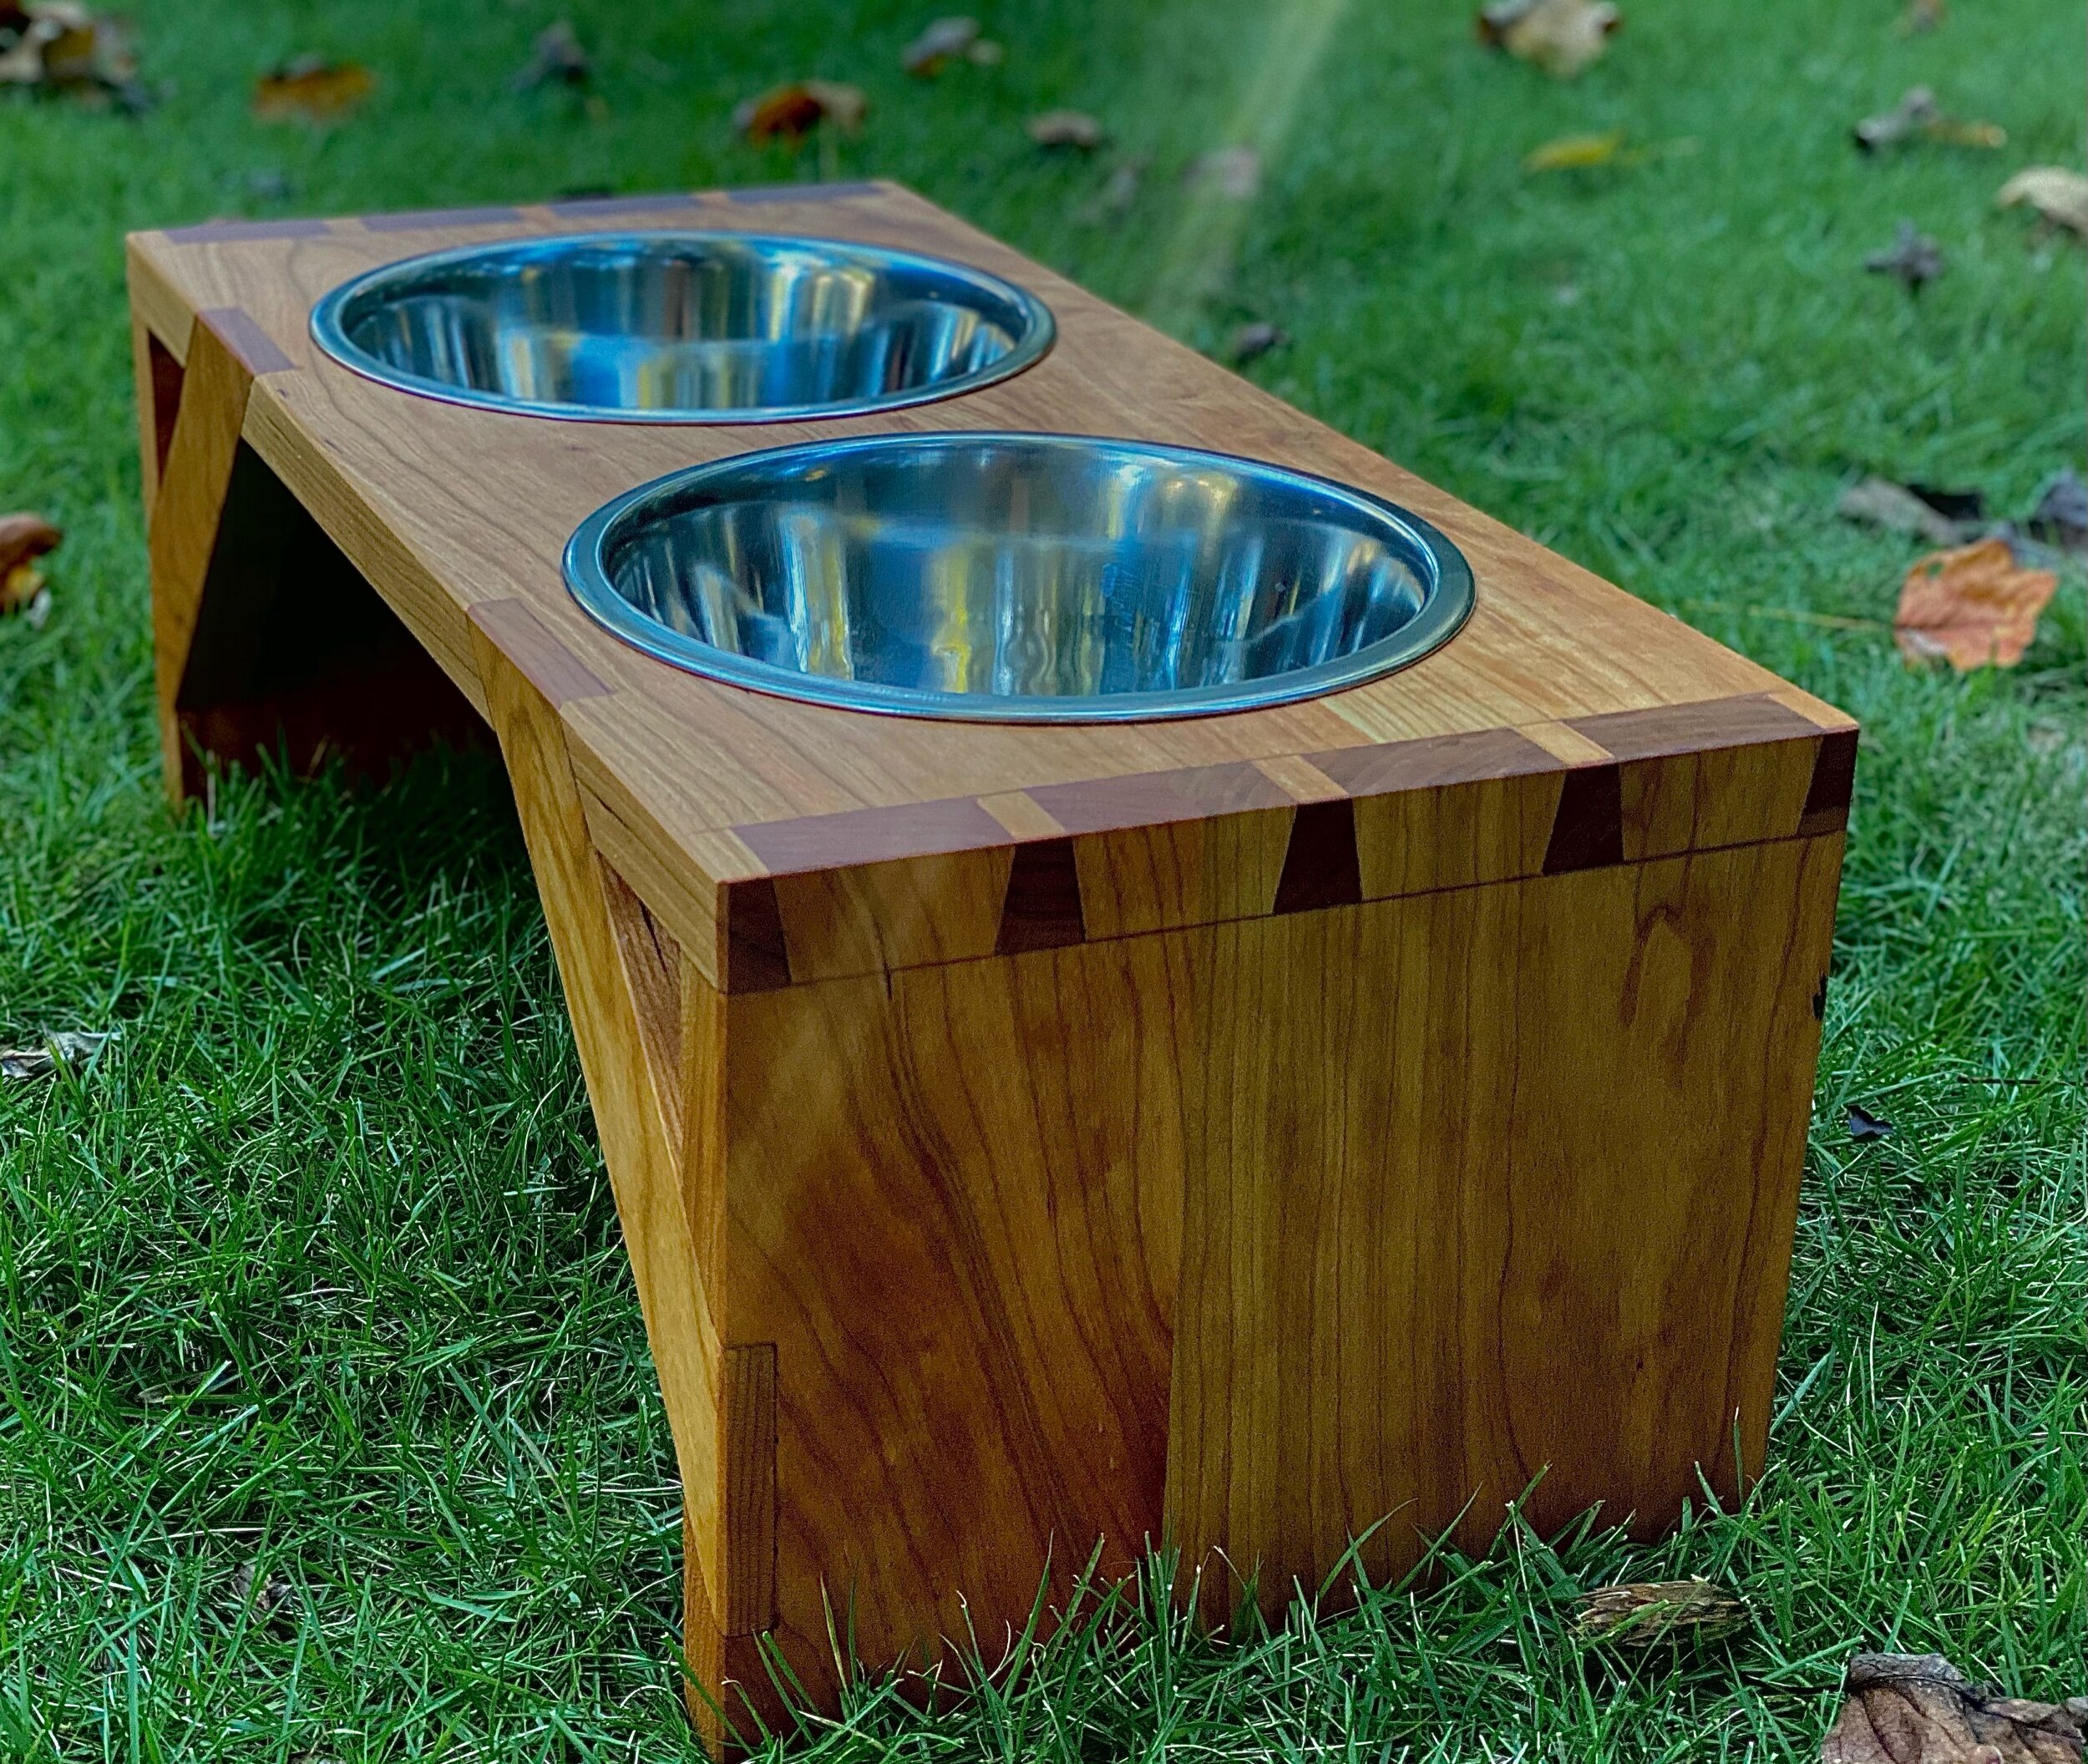
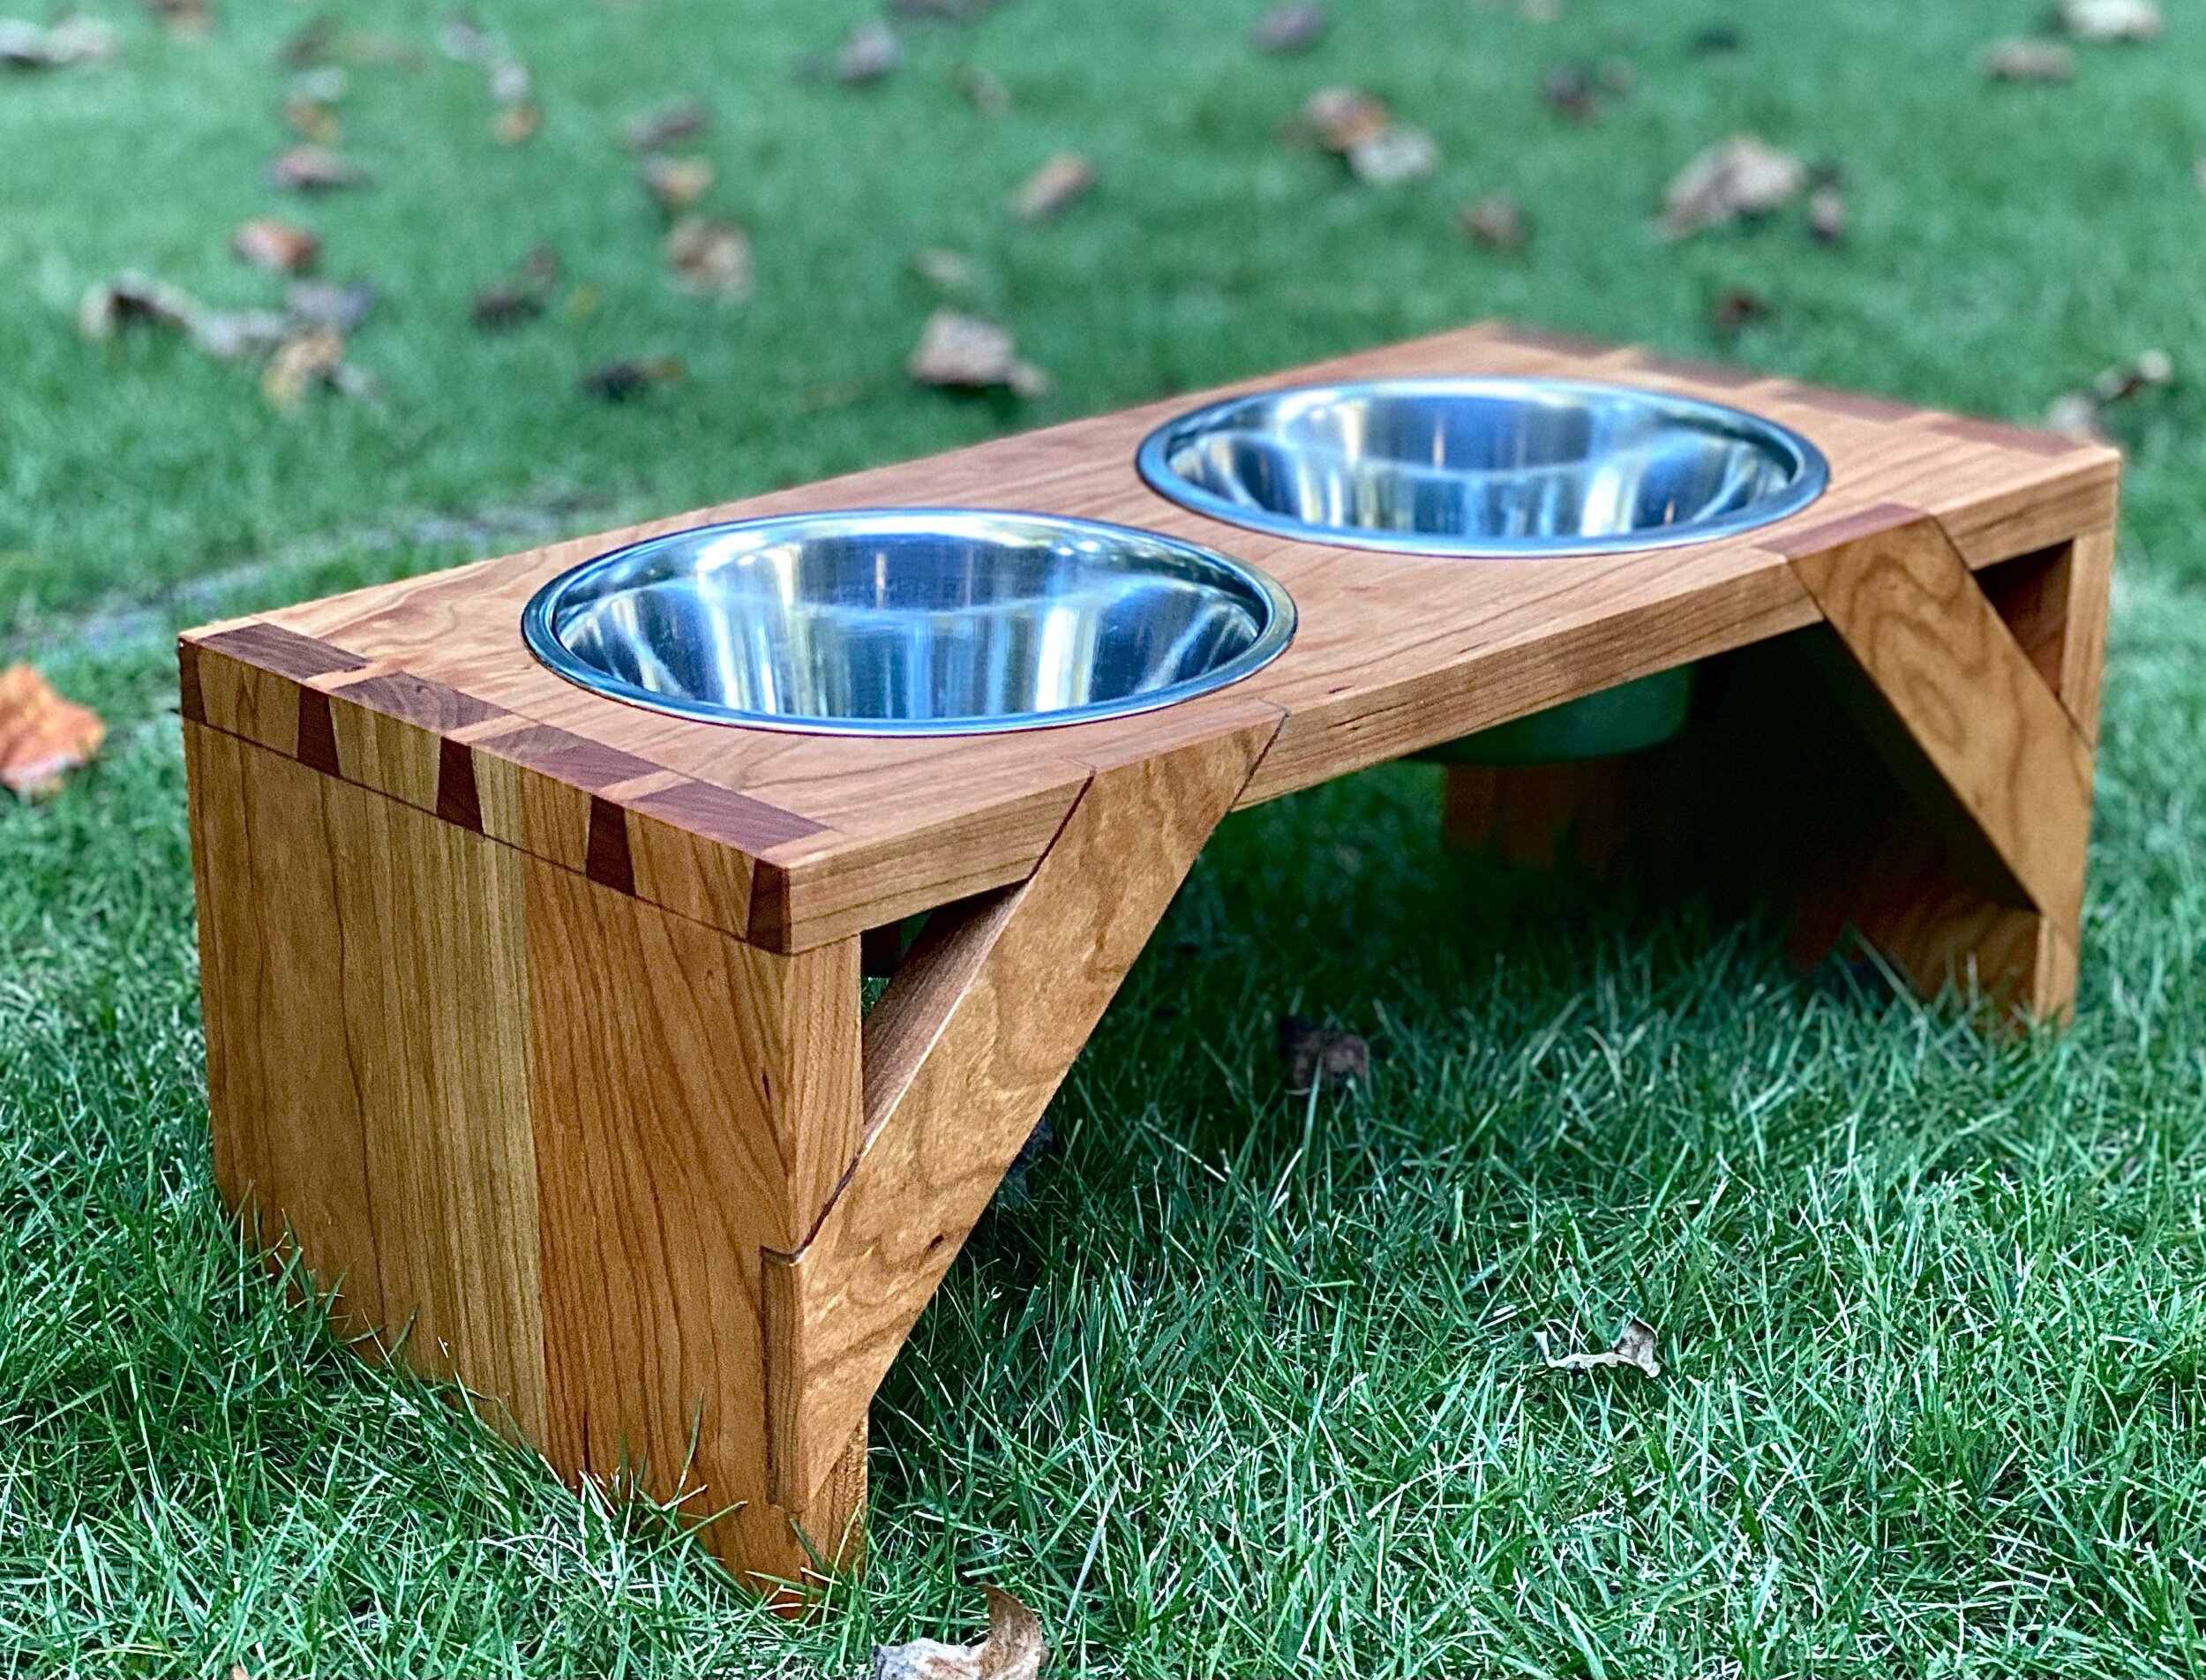
Recently I have made a few stands for pet food bowls and gotten several questions on the process. If I gloss over anything here, please shoot me an email with any questions.
The first one I made was from a single walnut board but I will focus on V2 more here since that design is easier to repeat since in the first I happened to have the perfect length 1.75” square stocking laying around I used for the stretcher. With V2 you don’t have to get lucky digging through your scrap pile.
As for the stock for V2 I ordered the 1x6x24’ cherry kit from forest2home.com, their kits are perfect for smaller projects like this. The BF$ is a little higher, but if you plan out your work you hardly have any waste material using them since they are your extra hand selecting clear stock.
Step 1- Layout all of your stock and determine which faces you want to use. While the stock comes fairly clean from F2H, you still need to prep these pieces using a smoothing plane and larger plane like a jointer for the edges you plan on gluing up. Focus mostly on the edges here because you want to wait until after the glue up for final surface smoothing on the faces. I picked the best two boards from the pack of six and did two glueups to change these 6x24’ boards into 12x24’ panels.
Step 2- Cleanup both panels and label one as the top and the other for the sides. For these bowls I used I needed a 7 7/8’ hole so the bowls sat flush, so the proportions looked well I decided to rip the panels down to 10’ wide and set the cutoffs for this to the side because you will use those to make the diagonal supports later.
Step 3- On the panel you labeled for the sides crosscut these to your final length, for this version I went with 8’. Take your time on this step to ensure both sides come out exactly the same length, because if not you are going to have a headache down the road if you discover the unit has a wobble.
While you are crosscutting go ahead and get the top to it’s final length. For mine that was 21 1/2’. Before you cut sit the bowls on the stock to make sure you have enough room so the lips of the bowls won’t overlap each other or your joinery. It would be a good idea to mark the center of each hole at this point because it is easier doing that now than after you cut the pins.
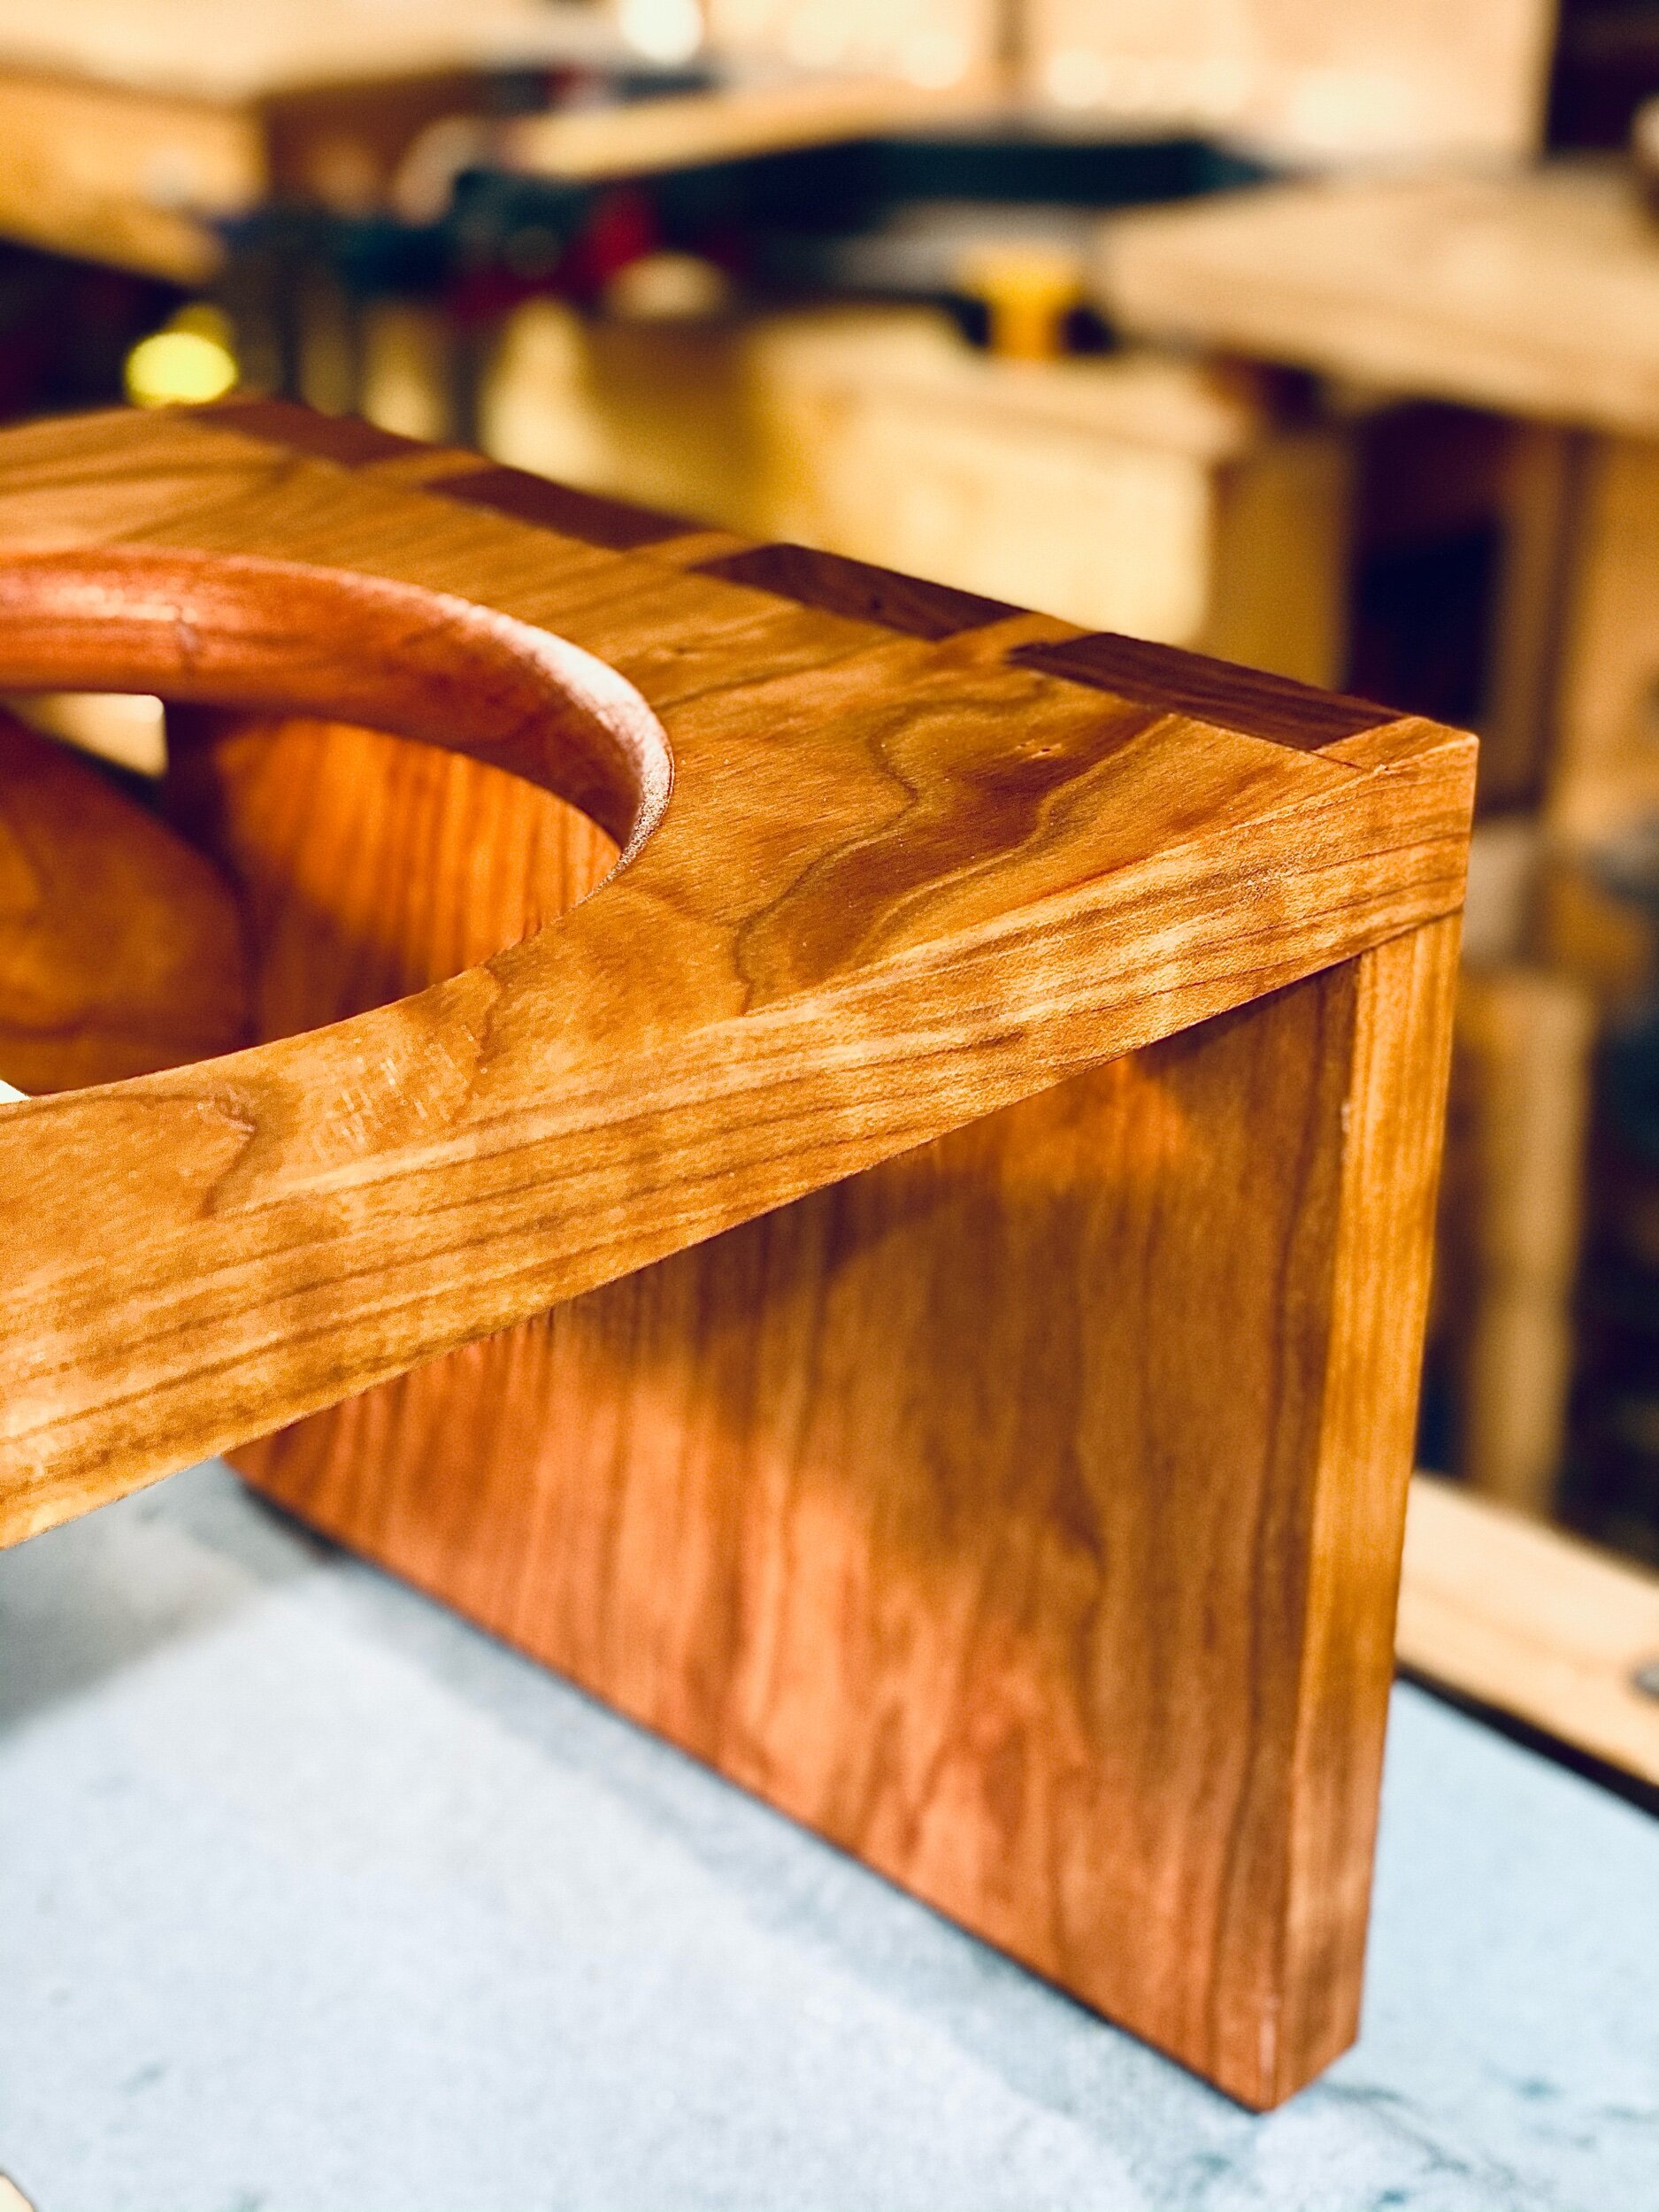
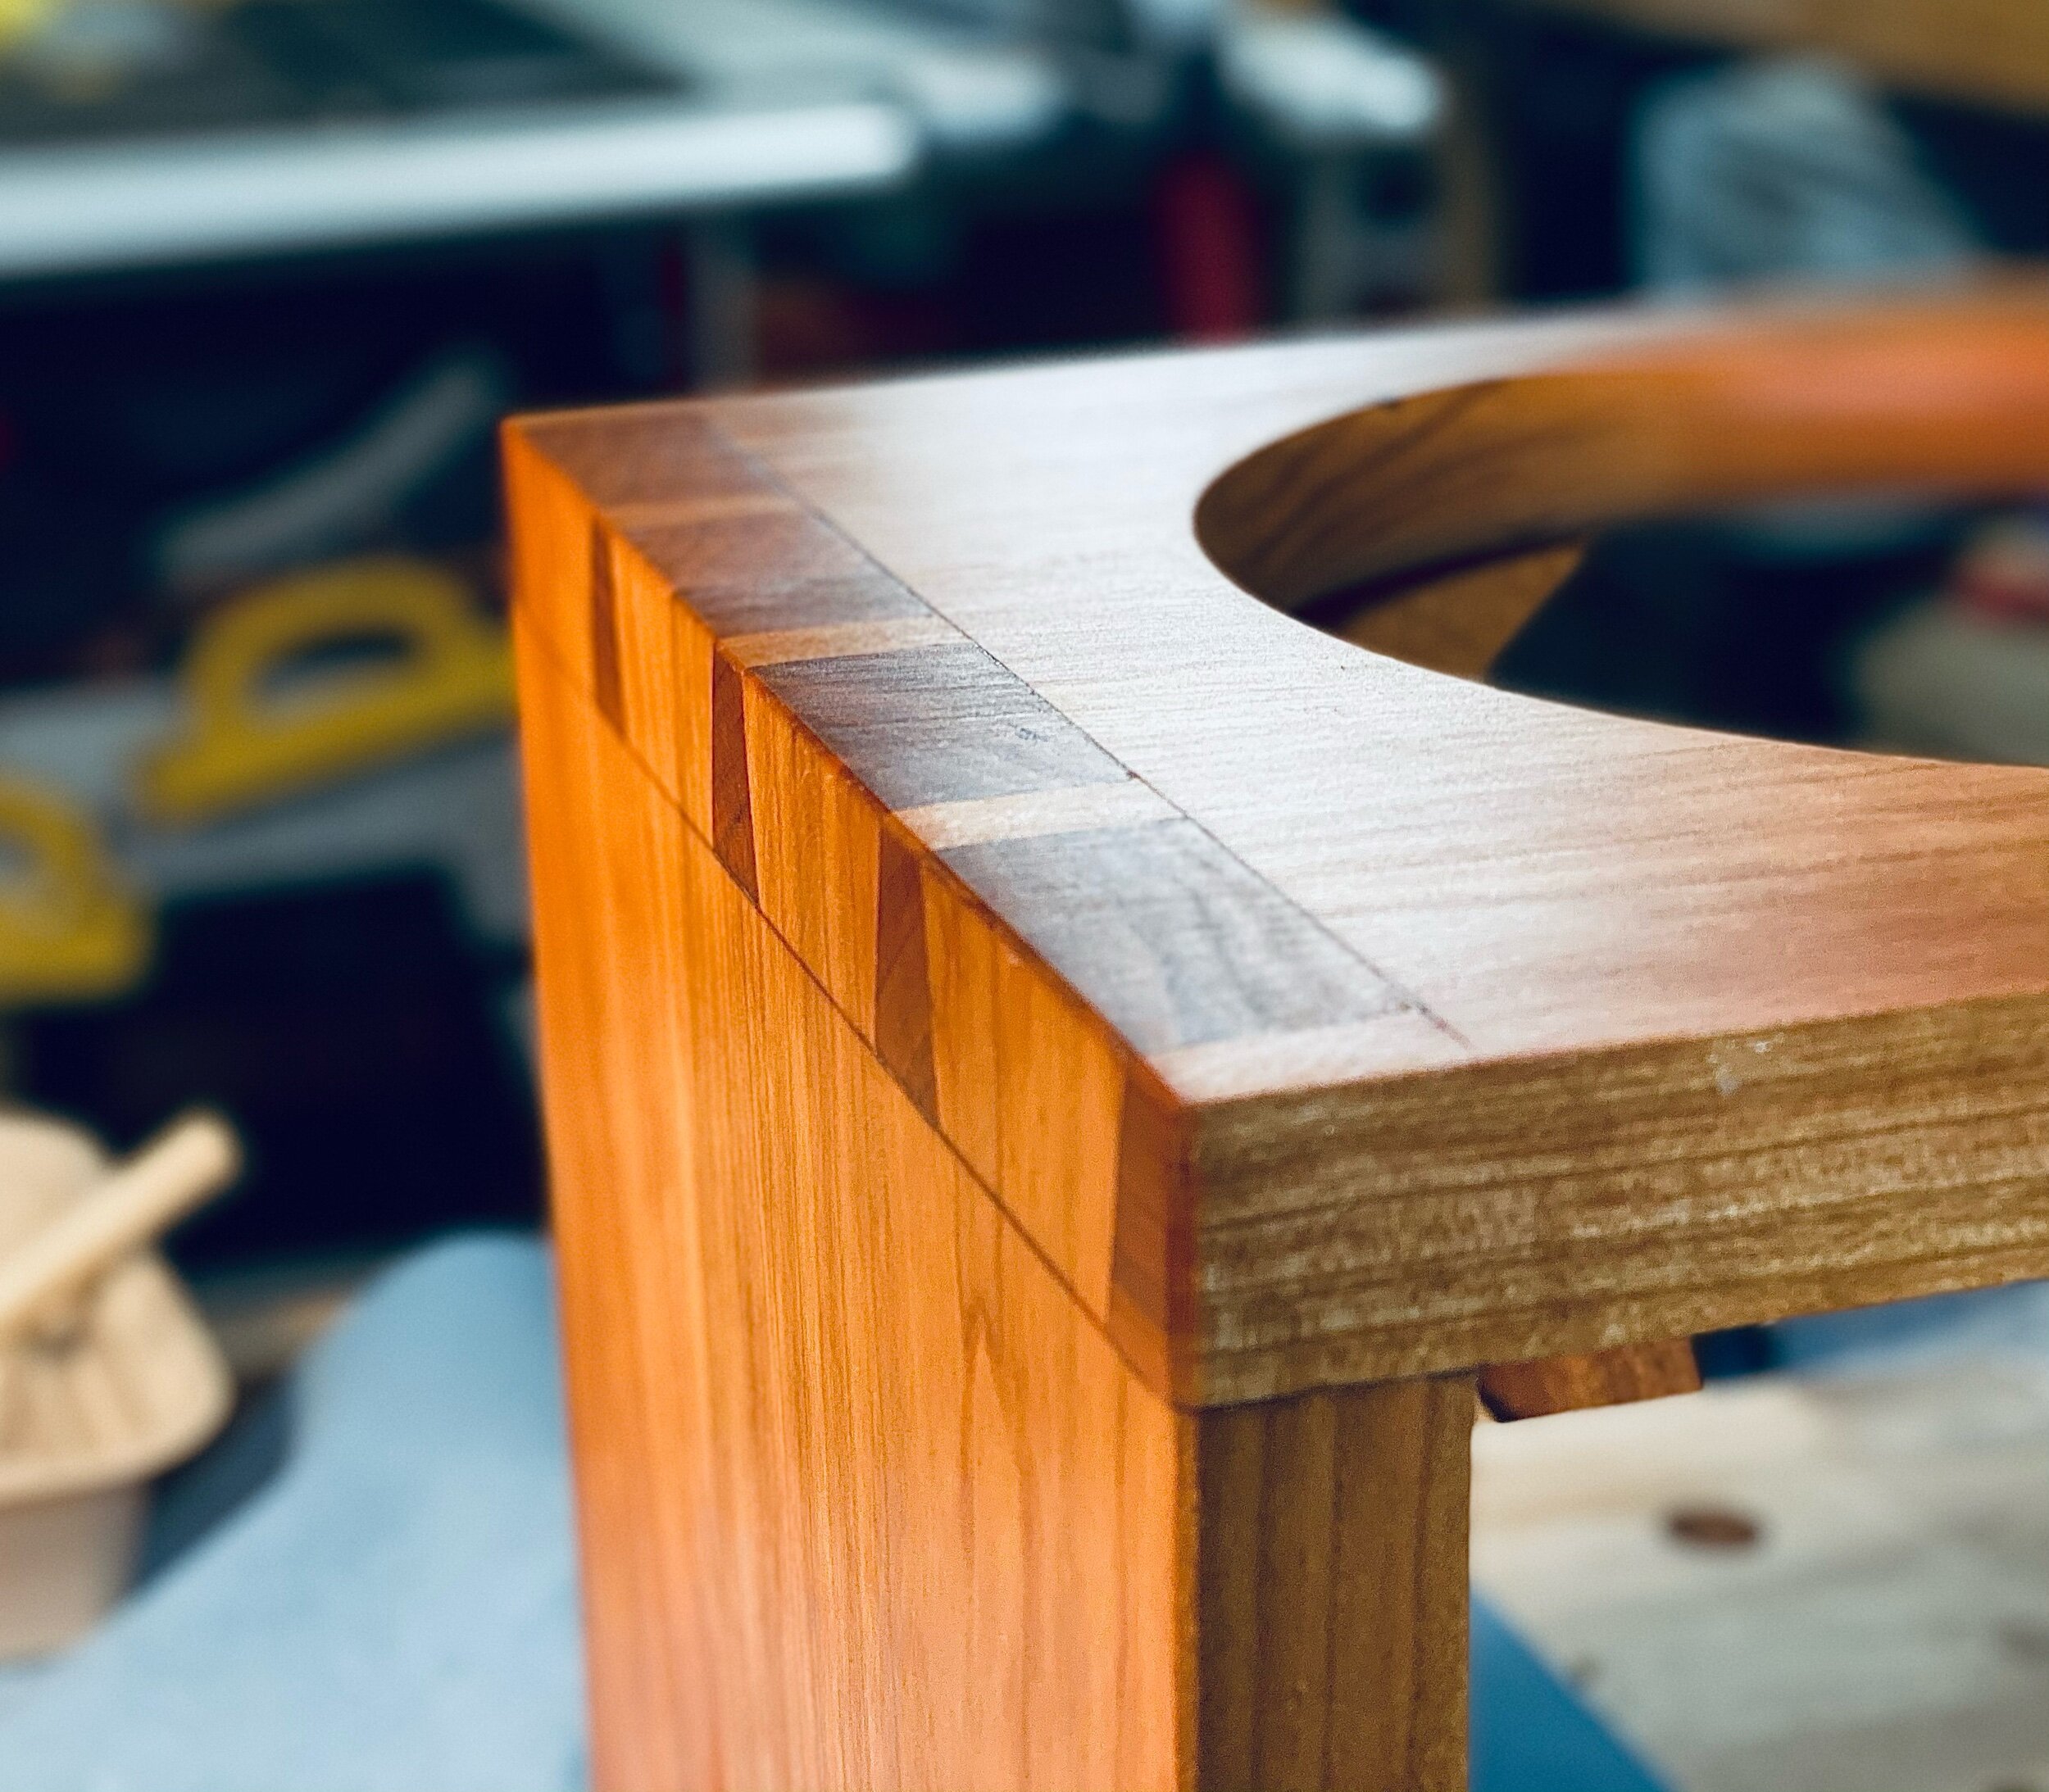
Step 4- Time to cut your joinery for the corners, I used dovetails but box joints could also work. Since this type of joint is usually used on pieces with four sides, I like to use beefier pins and tails to add some stability. No matter which joinery you use, these corners need to be as close to 90 degrees as you can get. If you need more help on cutting dovetails let me know and I can give you some good videos that I used when I was learning.
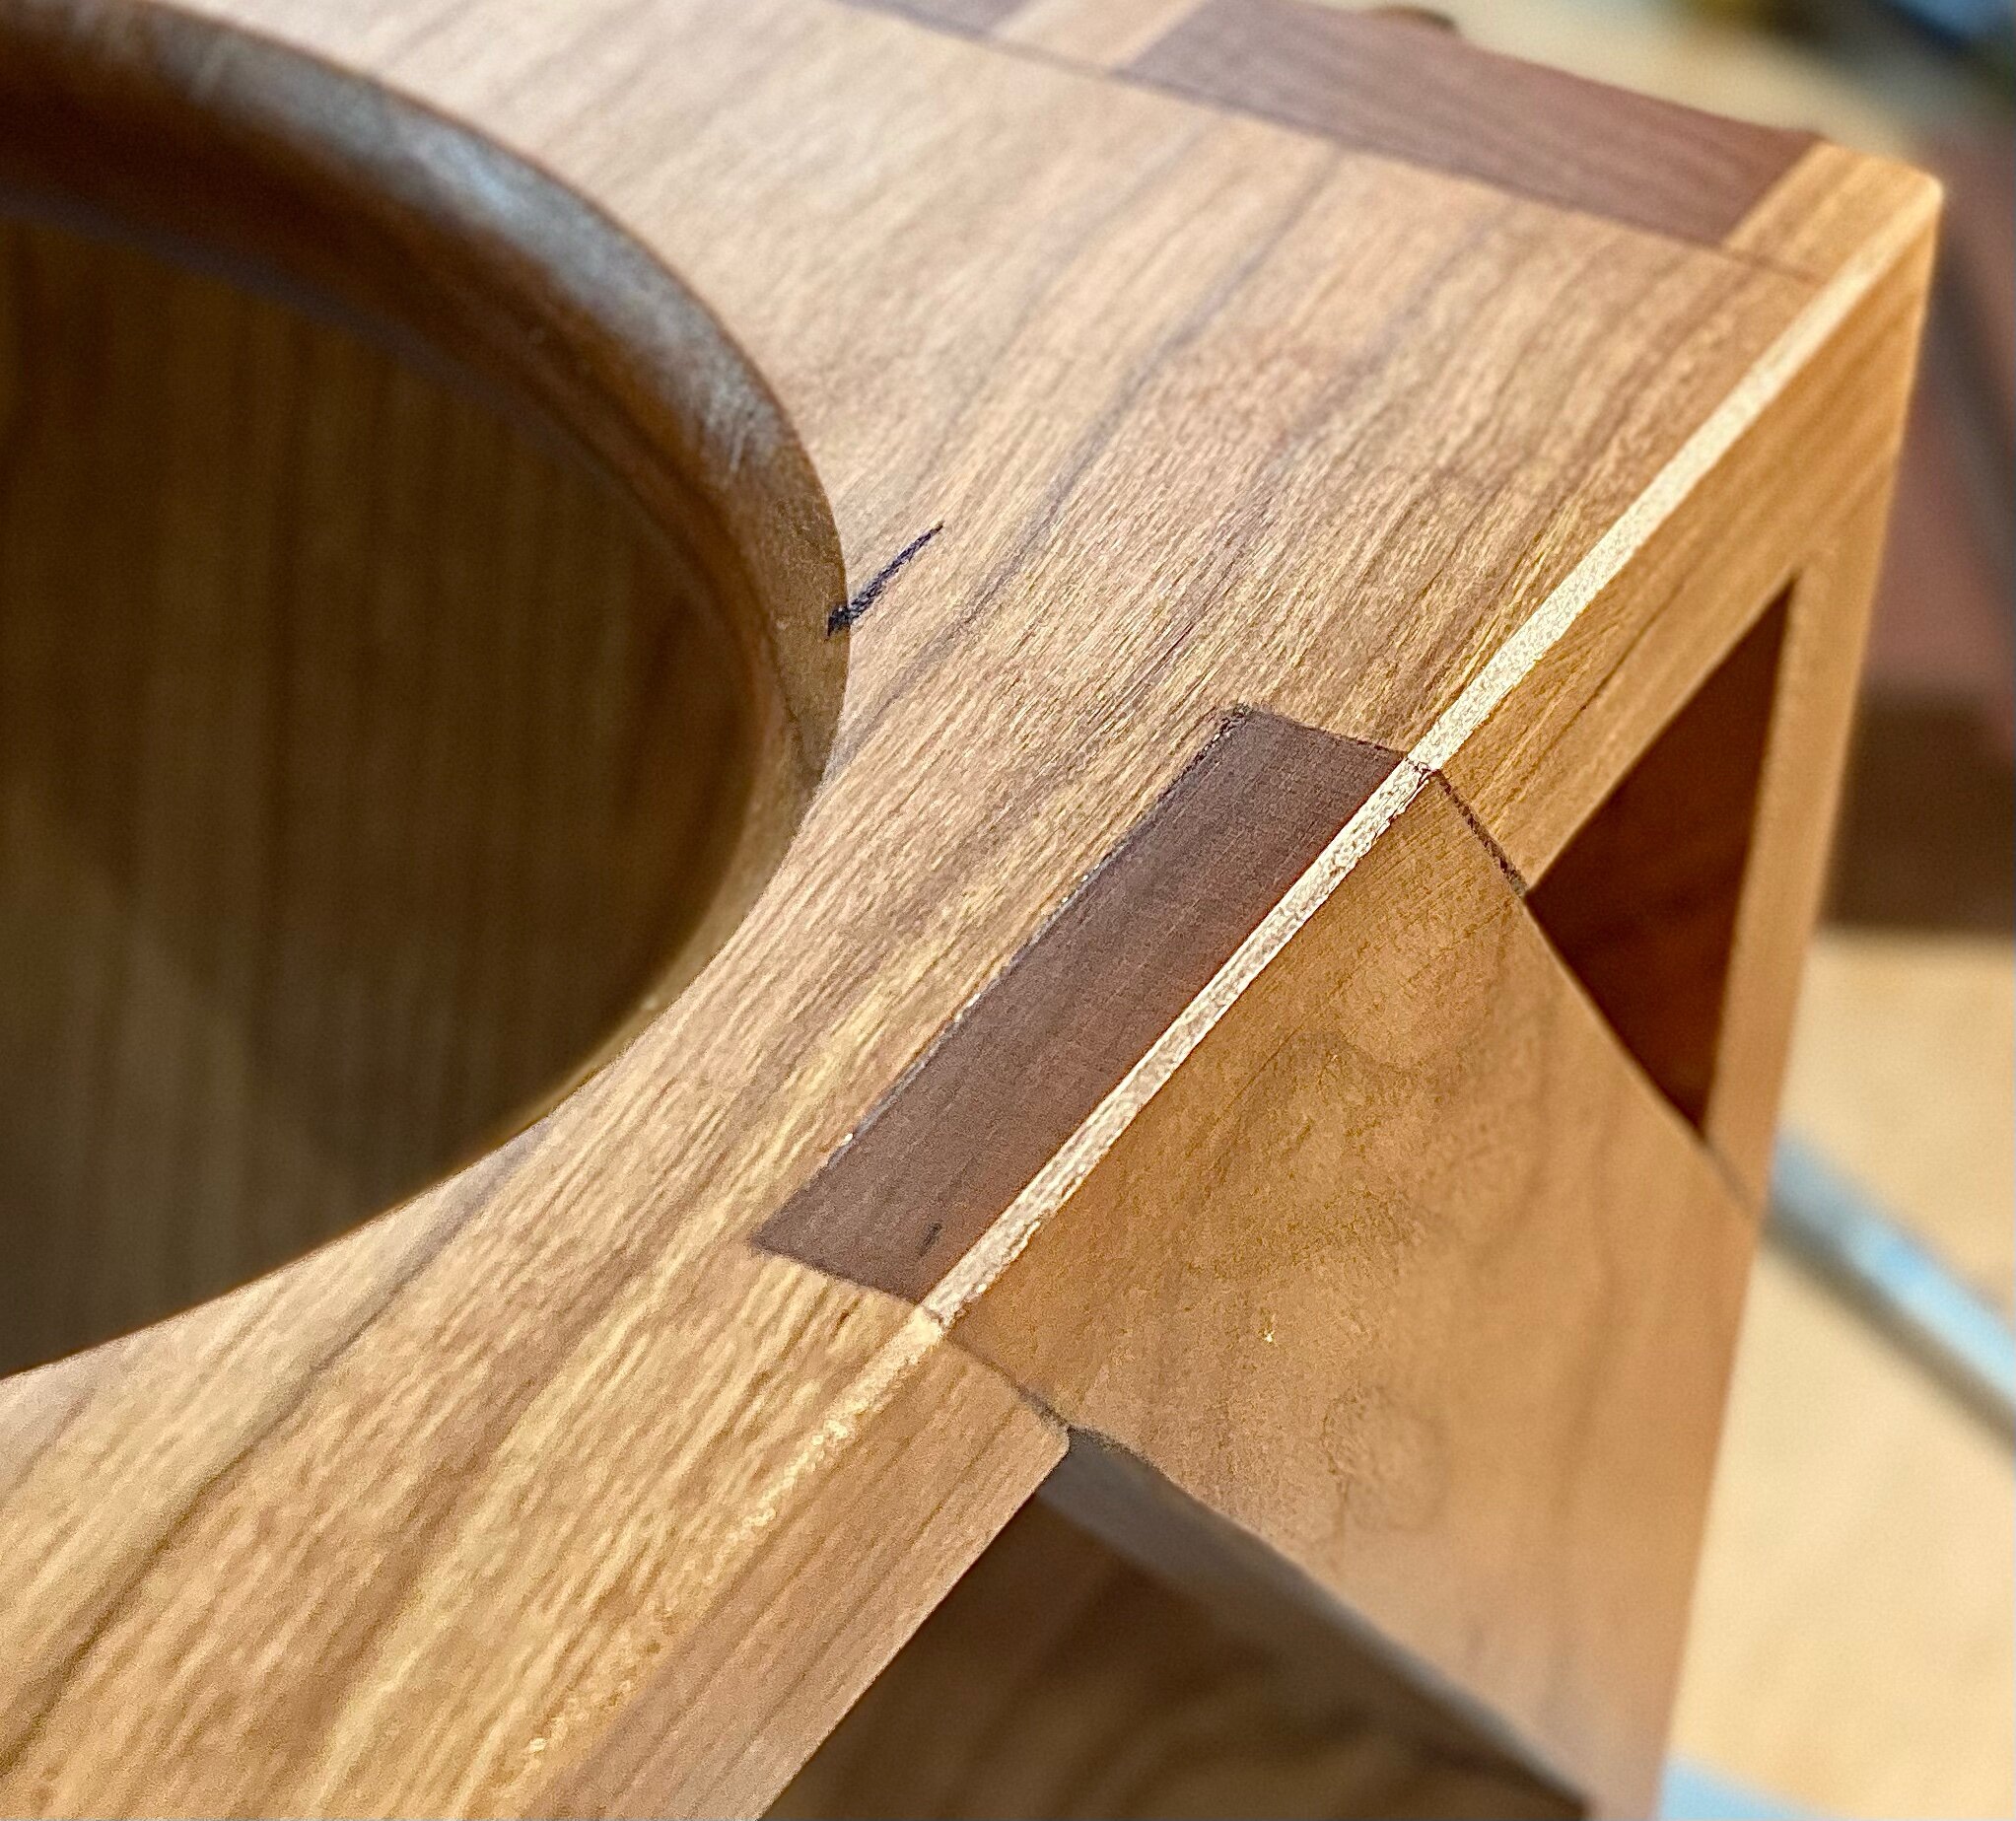
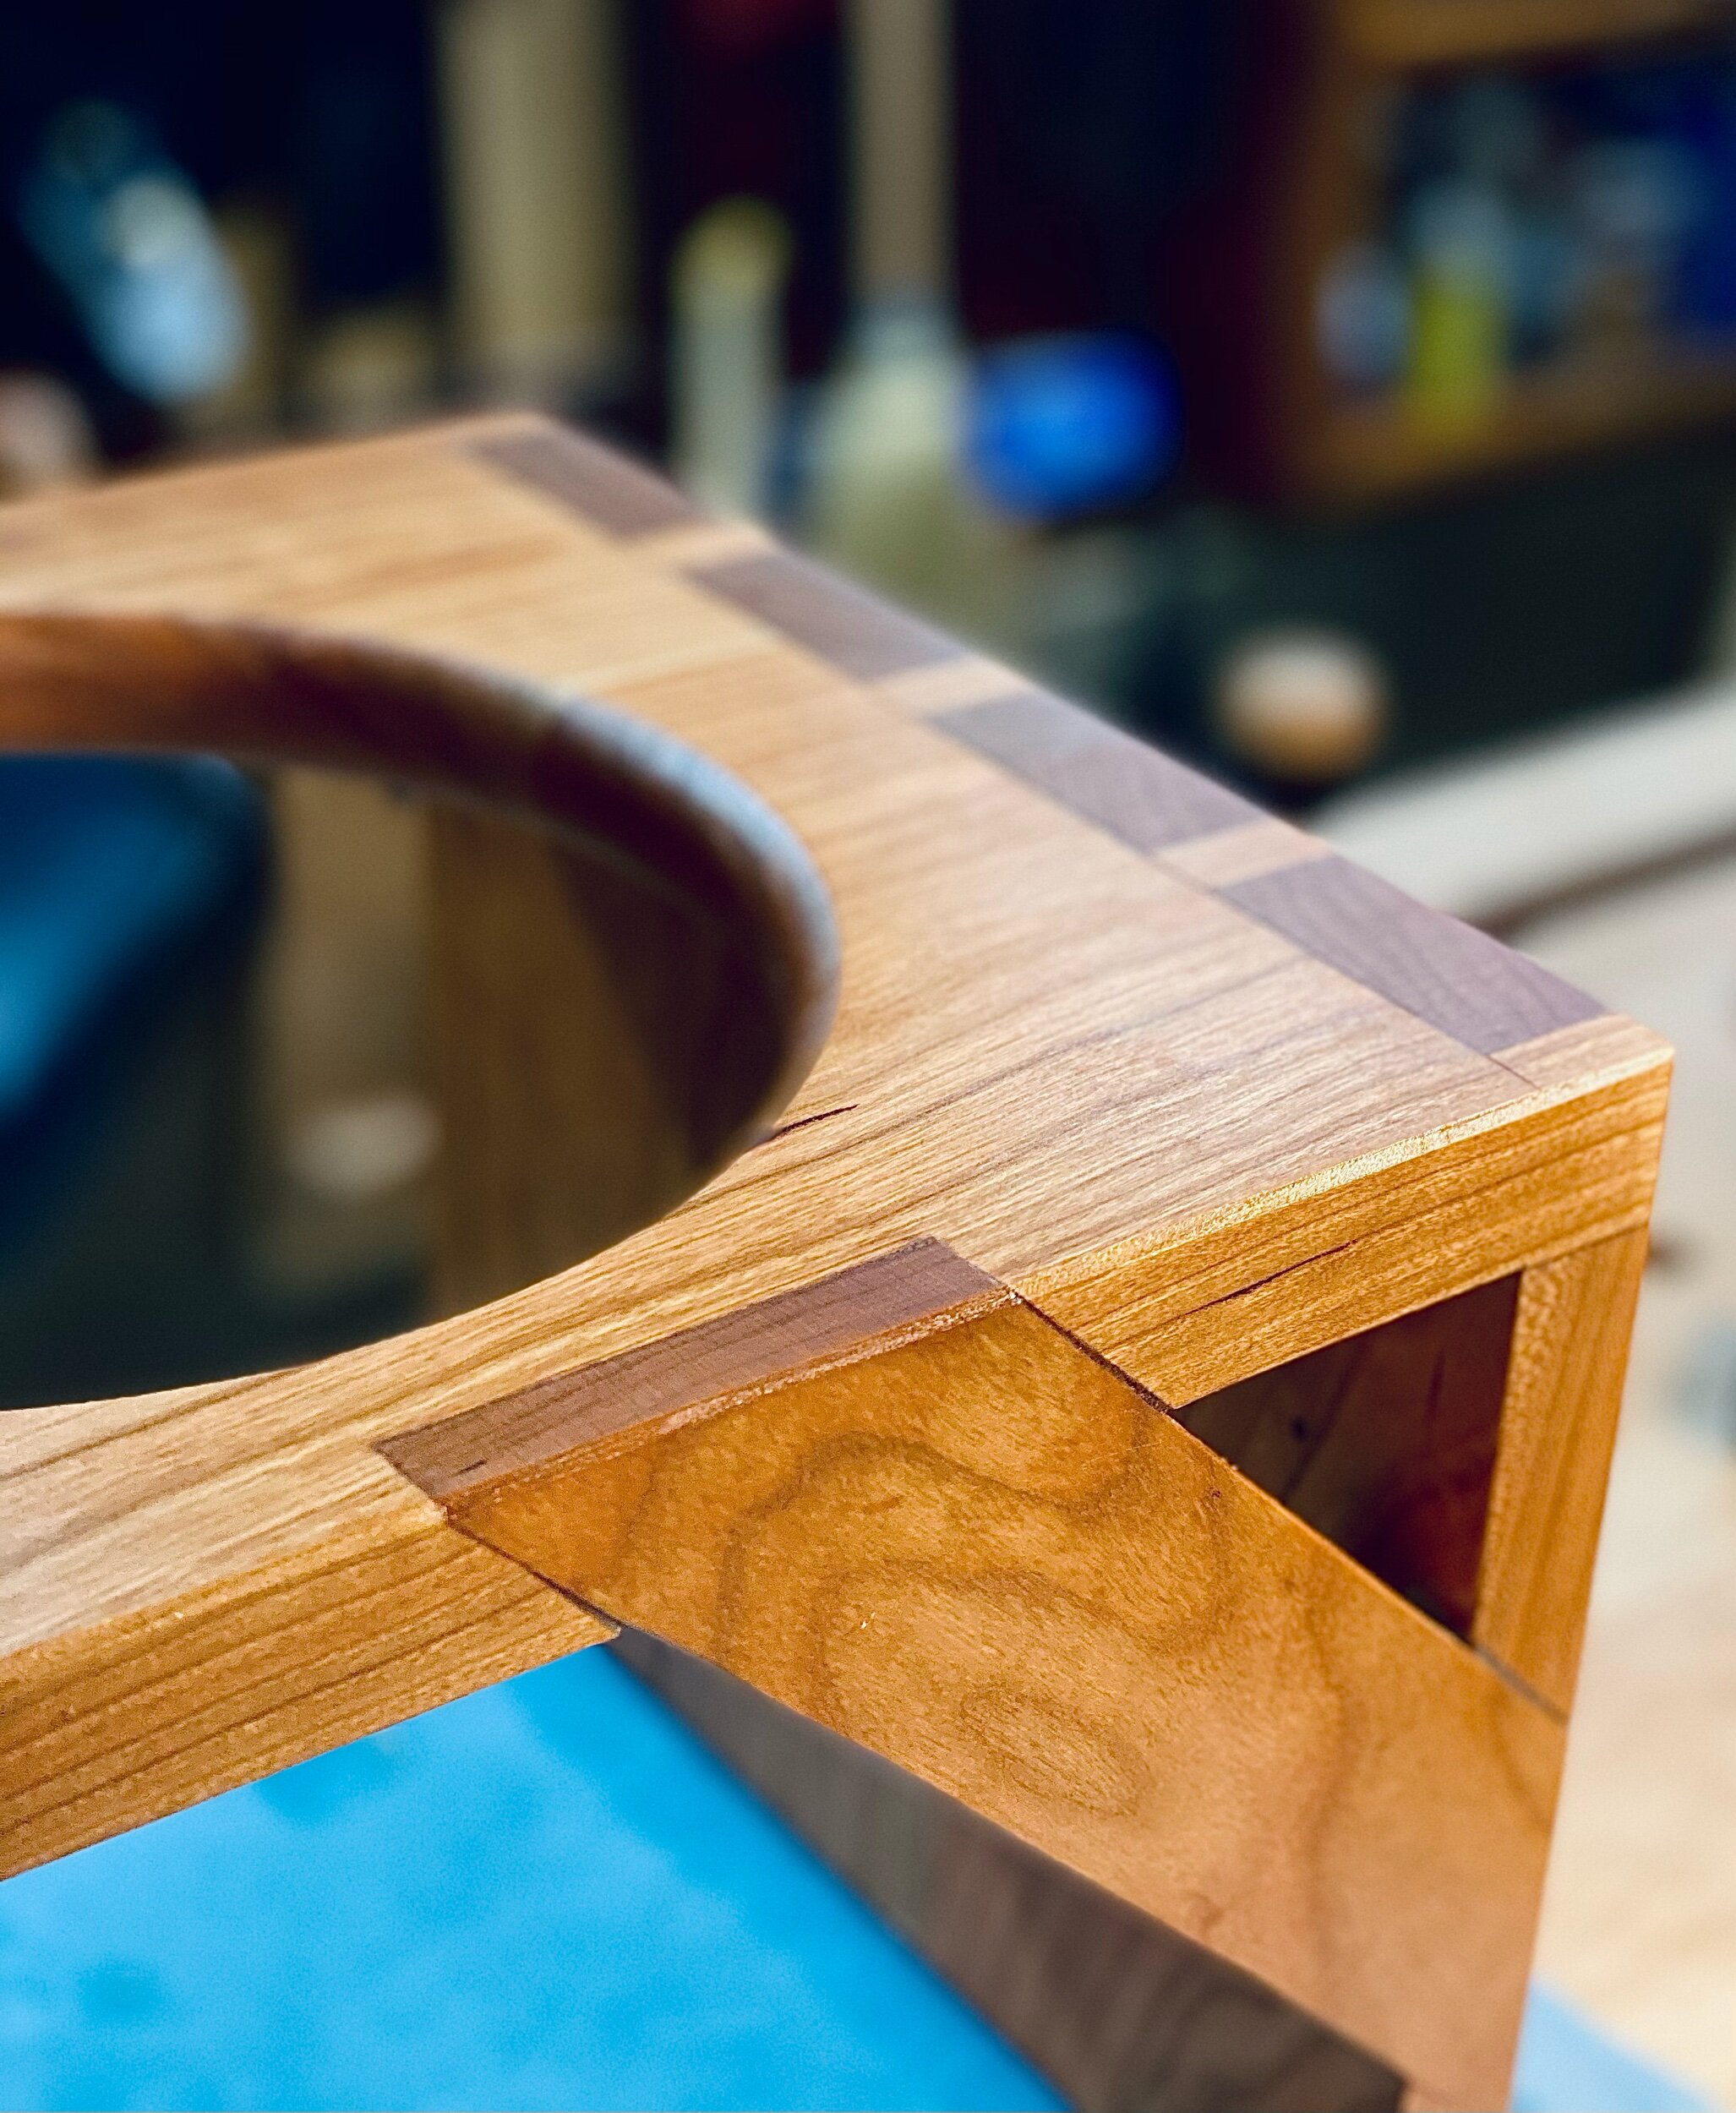
Step 5- Once the joinery for the corners are cut dry fit the three sides together and go find one of the scraps from when you ripped the panels. I used a knife, a bevel gauge, and a clamp to mark each surface that would be cut. I like to use the actual stock to lay this out rather than try to measure. Once you have everything marked and labeled I used my marking gauge to scribe the centerline of the diagonal parts. This joint is similar to a half lap, but it is cut at an angle. I didn’t grab any pictures of this step, but I will next time I build one of these.
Once you have the diagonal parts cut, use your knife and marking gauge to scribe where they will be cut on the top and sides while you still have the dry fit assembled.
Step 6- Cut the holes in the top using a router. Before you cut anything in the top cut a test hole in a scrap piece of plywood to ensure the bowls fit as you would like. The bowls I used had a 7/8” lip so once you have that dialed in exactly where you want it cut out your circles using a backer board to reduce any tear out.
Round over the top and bottom of the holes and wrap a piece of sandpaper to a larger dowel or something similar to work any rough surfaces left from the router.
Step 7- Final assembly! Glue and clamp your top and sides and allow everything to sit overnight. Once dry and cleaned up add the diagonal pieces which could need a few last minute tweaks with a file depending on how accurate your corners are. Glue these and clamp for at least an hour.
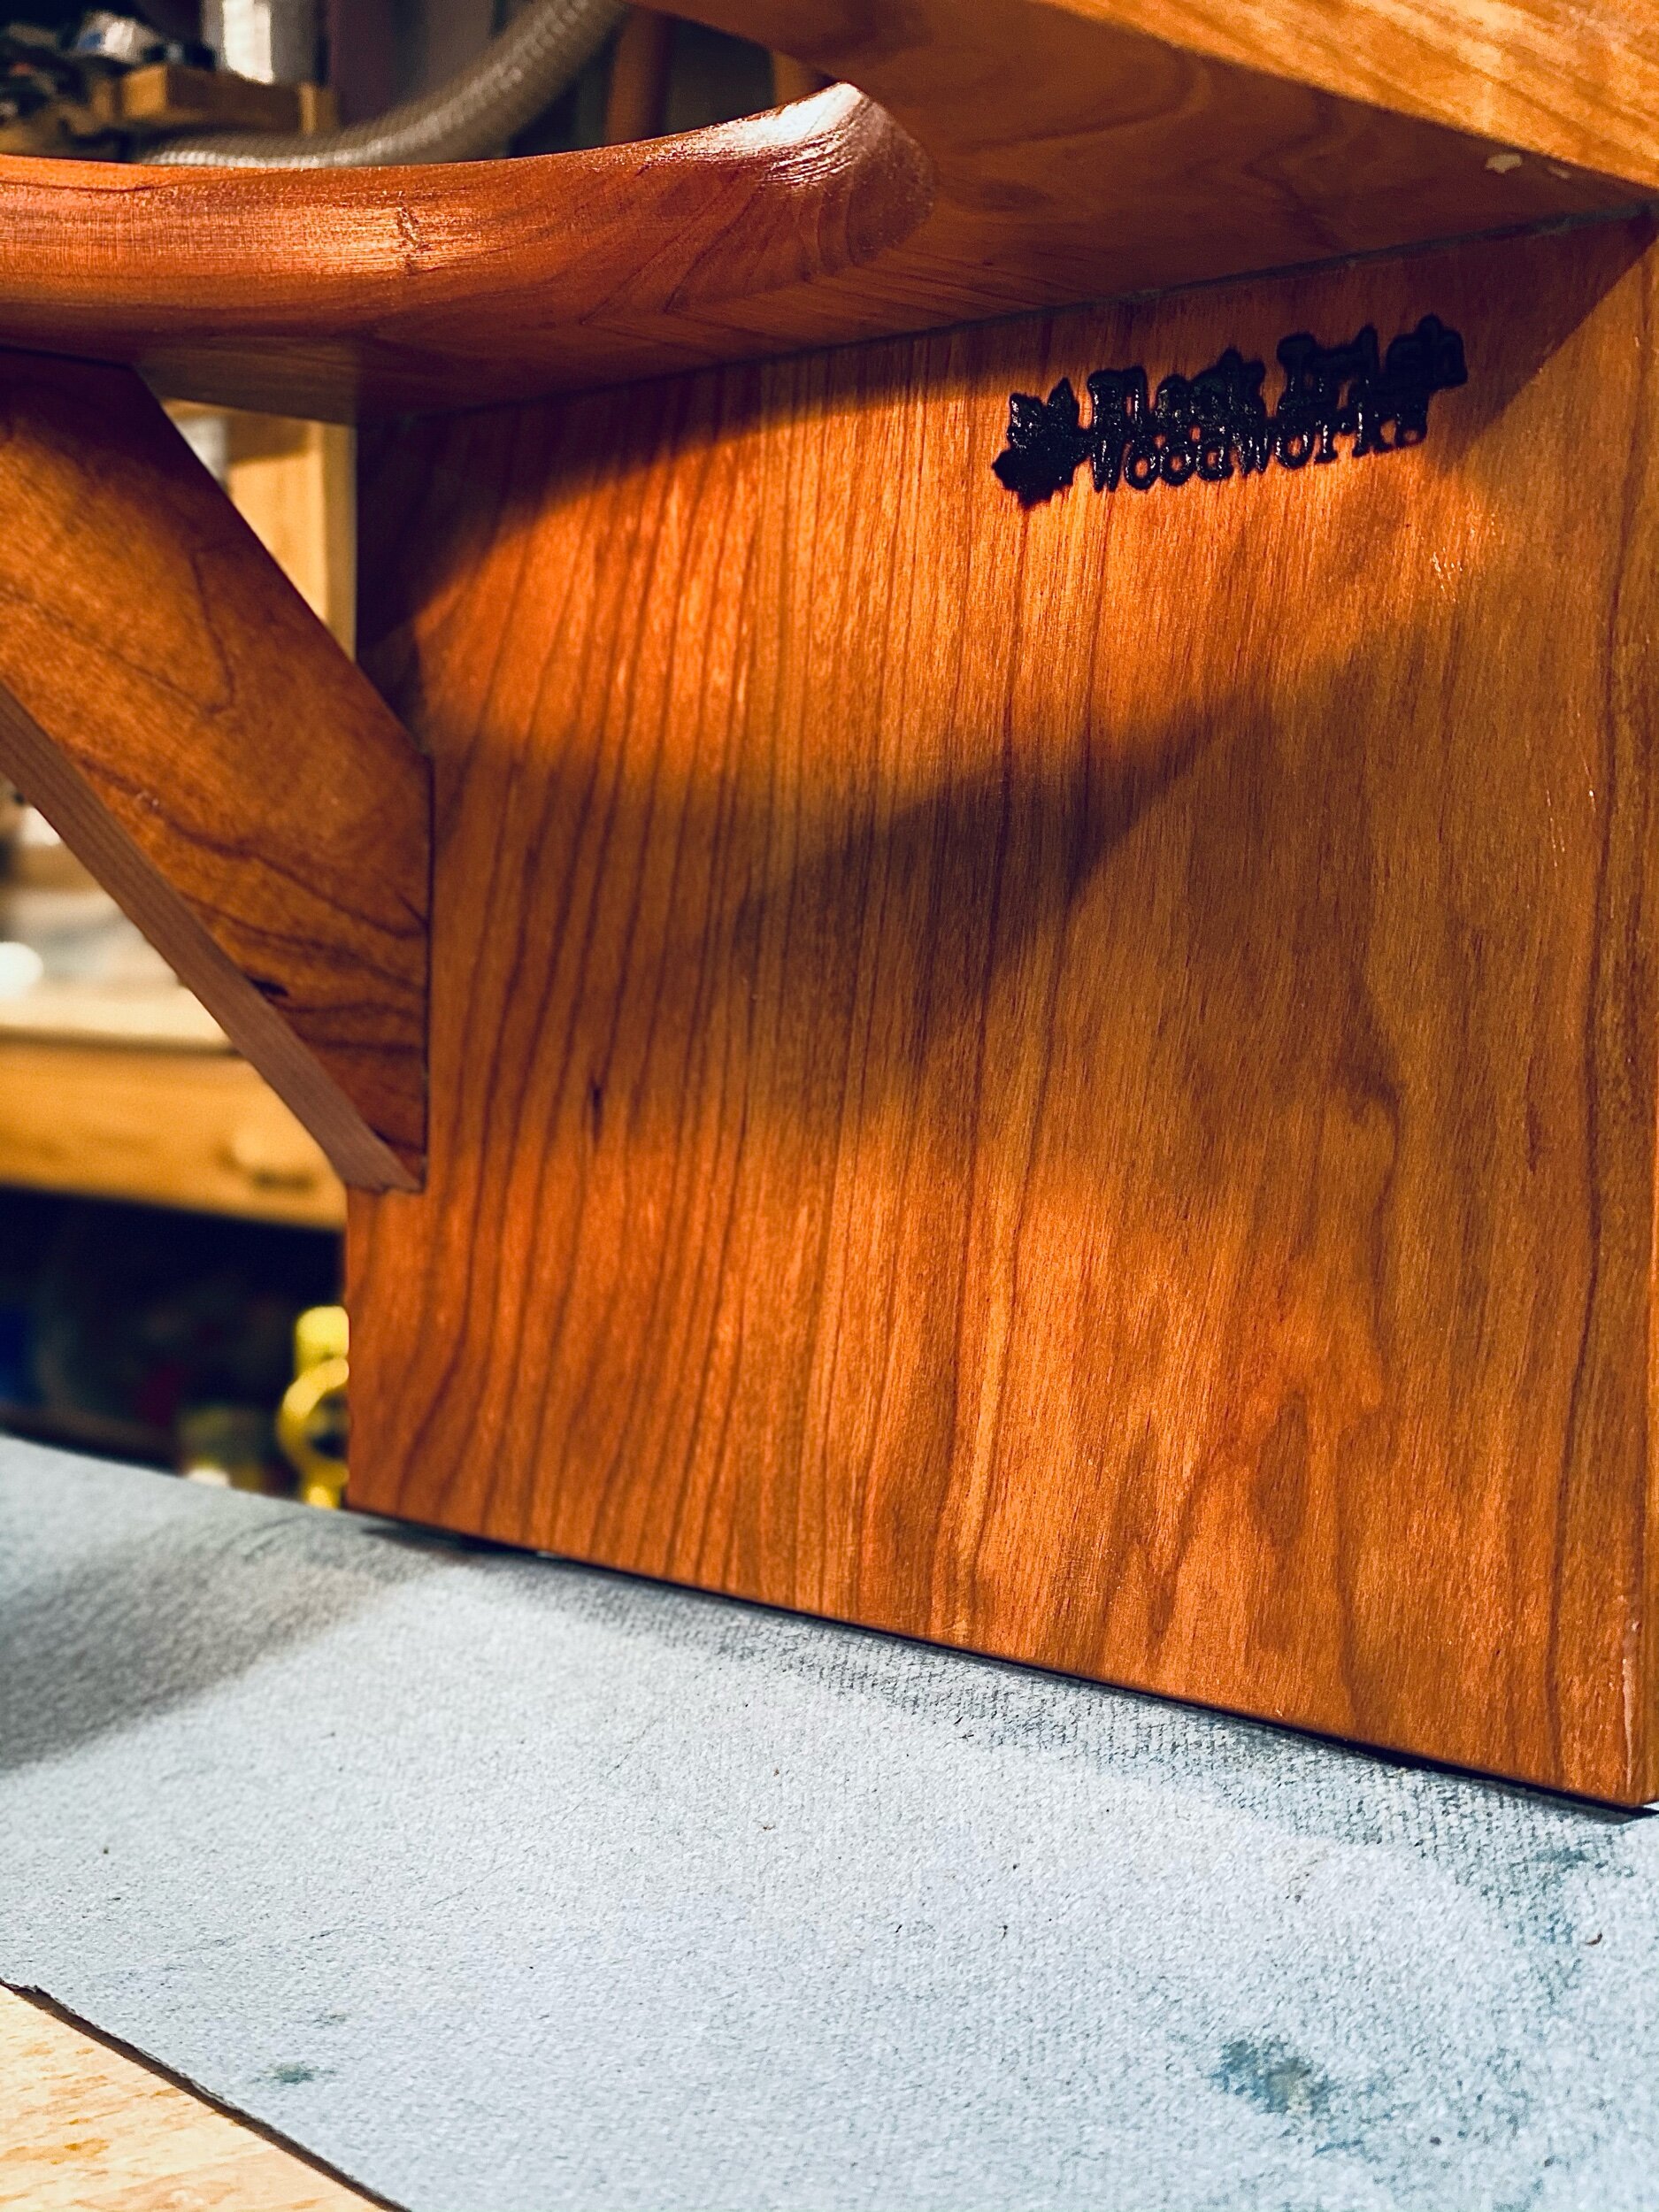
To finish this project use a small block plane to clean up any edges and I add four 3/8” rubber feet that are countersunk in the bottom to make sure it doesn’t slide around the floor and can help you to ensure that your final product is completely level. I finished this cherry stool with Walrus Oil’s furniture polish and two coats of their furniture wax to mostly waterproof the final piece.


